AutoCount Audit Trail: Investigating Changes and User Activity
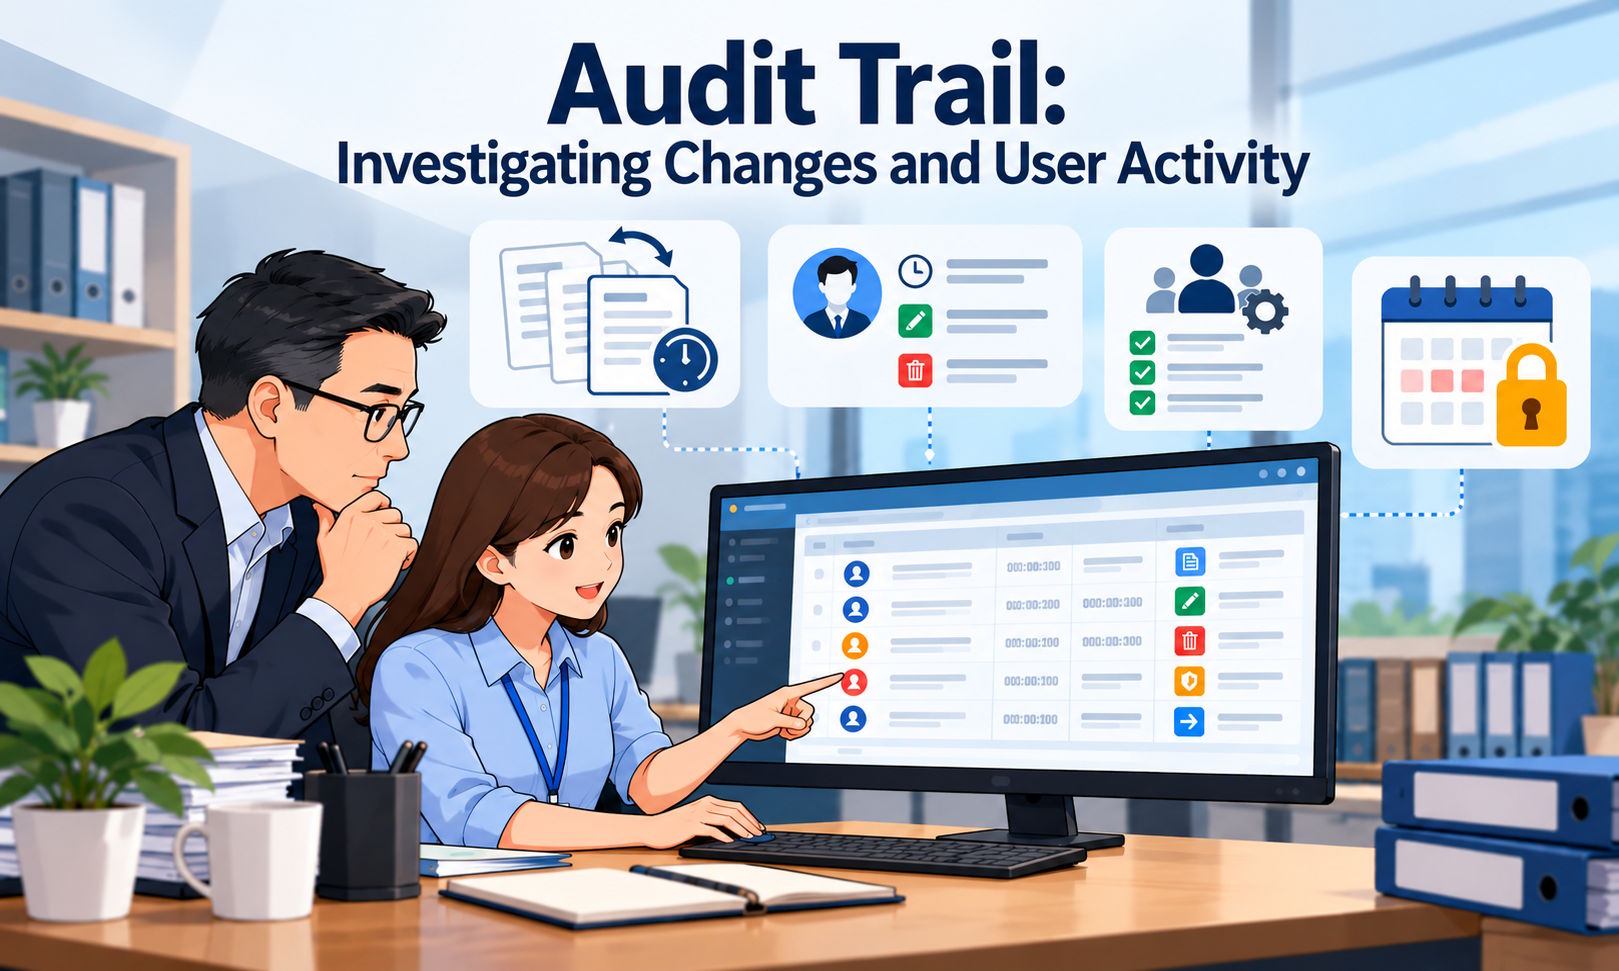
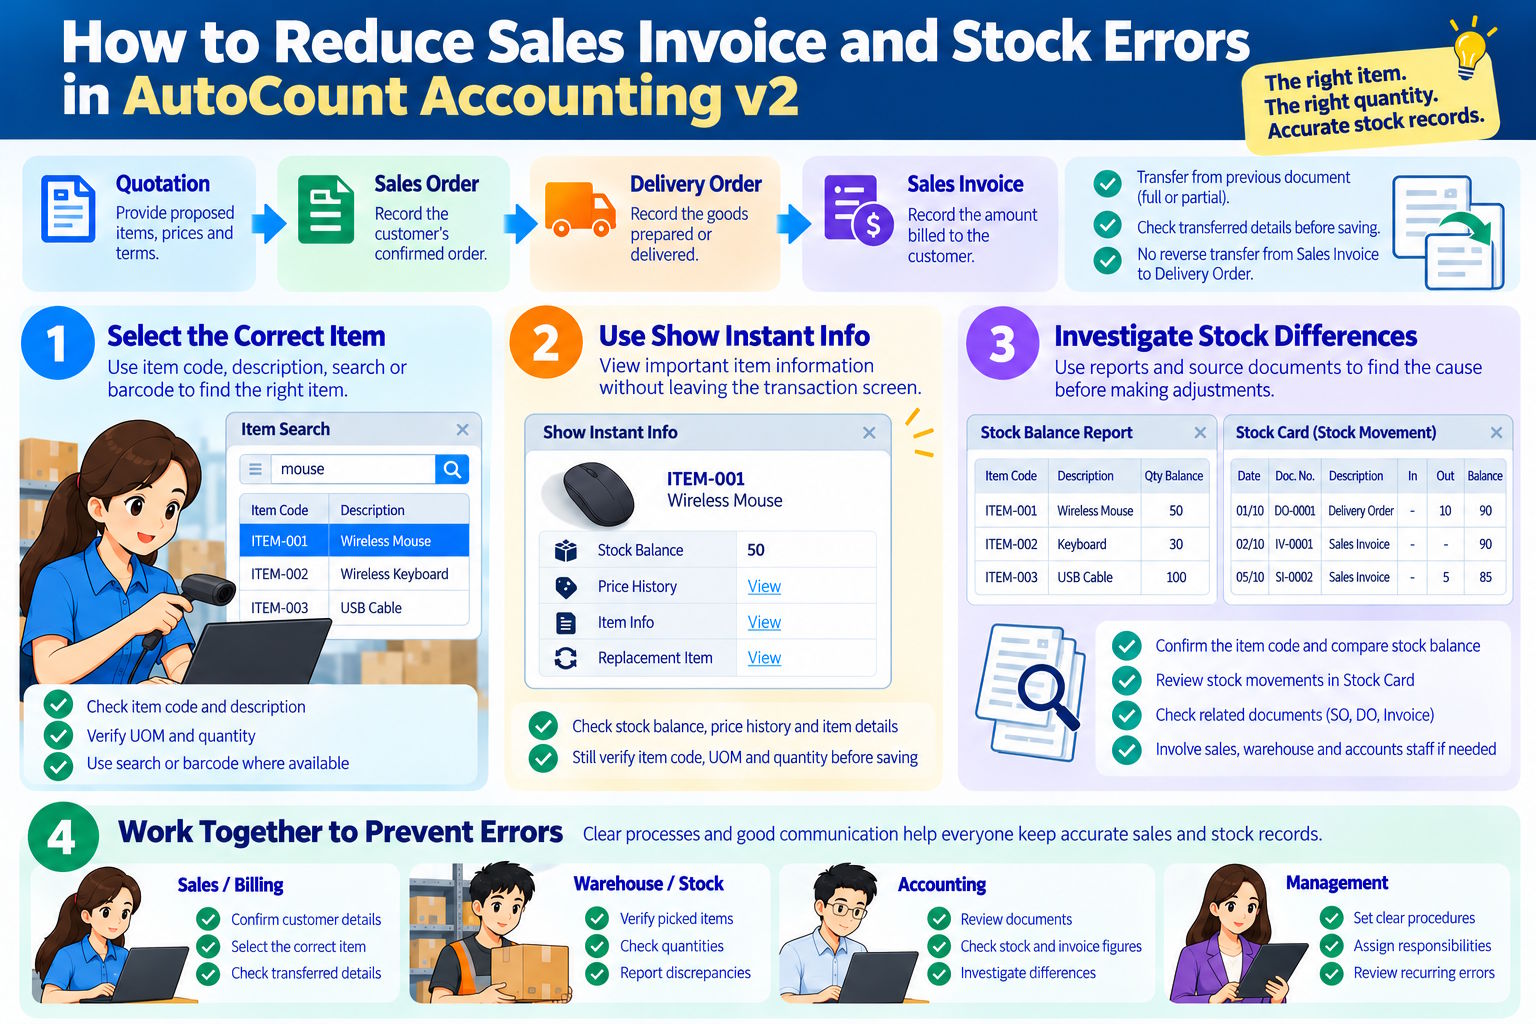
When an invoice changes unexpectedly, a document is deleted, or an accounting figure does not look right, business owners need to understand what happened before deciding what to do next. In AutoCount Accounting, you can start by checking the document’s created or modified date and time, along with the associated user information where available. For a deeper investigation, the Audit Trail function can help you review recorded system events. However, investigating problems is only one part of good accounting control. Setting appropriate user permissions and locking completed accounting periods are important steps to help prevent unauthorised or accidental changes. 1. Start by Checking the Document Details When an accounting issue is reported, begin with the document involved. This could be a sales invoice, purchase invoice, payment entry or another transaction. Check the available document information, including: These details help narrow down the investigation. For example, if a document was modified after the accounting team completed its checks, you can use the recorded time and user information to decide what to investigate next. Remember that the user shown is the account associated with the activity. It does not automatically prove who was physically using the computer or whether the change was improper. 2. Use Audit Trail to Investigate Recorded Events AutoCount Accounting’s Audit Trail for reviewing recorded events involving supported records and transactions. Depending on the version and configuration, event information may include actions such as creating, editing, cancelling, deleting or printing records. The function includes search criteria and filters to help narrow down results. It also included an Event Message that provides information about a selected event. A general investigation process is: The exact menu names, event details and access requirements may differ between versions. Check the help documentation for your installed version if the screen or available options are different. 3. What Issues Can Audit Trail Help Investigate? Unexpected invoice changes If a sales or purchase invoice has changed unexpectedly, check the available event information and compare the recorded details with the current document and supporting evidence. Cancelled or deleted documents Where the relevant events are recorded, Audit Trail may help you investigate document cancellation or deletion. Review the event information available, including the associated user and date or time where recorded. Unusual transactions or accounting differences When an accounting figure does not match the expected result, use the event history to help narrow down when a relevant record may have changed. Then compare the transaction with accounting reports, ledgers and supporting documents. Security-related activity Audit Trail may also be useful when investigating sensitive system activity, depending on the event types supported by the installed version and configuration. Examples to verify include login activity, SQL execution, code changes and approval-related events. Do not assume that every AutoCount Accounting installation records all these event types or displays the same level of detail. Confirm the available event categories in your own system. Audit Trail is an investigation aid, not proof of misconduct by itself. Assess recorded events alongside the business reason, supporting documents and relevant system settings. 4. Set User Permissions Before Problems Occur Not every employee needs access to every accounting function. Billing staff may need to create invoices, while sensitive administrative functions should be limited to authorised personnel. AutoCount Accounting provides user access-right controls. The exact controls available depend on the version, modules and configuration. Review permissions for functions such as: Follow the principle of least privilege: give each user the access needed to perform their job without granting unnecessary authority. Review permissions when employees change roles or leave the company. Where practical, use individual user accounts rather than shared accounts. This makes recorded activity easier to associate with the relevant account and investigate. 5. Lock Completed Accounting Periods One of the most important accounting controls is to restrict changes to periods that have already been checked and finalised. AutoCount Accounting provides period-locking controls that allow users to lock individual months once they are completed or lock an entire financial year after the accounts have been audited. This helps prevent further entries or changes to transactions within the locked period, preserving the integrity of the accounting records. A practical month-end process is: Exception settings allow users to control which document types and actions, such as creating new documents or amending existing ones, are permitted after an accounting period has been locked. These permissions can be configured according to business requirements and the financial impact of each function. For example, quotations and sales orders may be allowed to be amended, while cash book transactions that affect bank balances remain restricted to protect the accuracy of financial records. Frequently Asked Questions What is Audit Trail in AutoCount Accounting? Audit Trail is a function for reviewing recorded events involving supported accounting records and documents. The event types and level of detail available depend on the installed version and configuration. Can Audit Trail show who edited or deleted a document? It can show recorded events and associated details supported by the system. Edited documentation shows Event Message for additional information. Can every AutoCount user access Audit Trail? Not necessarily. Access depends on the user permissions and system configuration. Review access rights and limit sensitive functions to authorised personnel. Does Audit Trail prevent users from changing accounting records? No. Audit Trail helps investigate recorded activity. User permissions and period-locking controls are separate preventive measures. Why should completed accounting periods be locked? Locking a completed period helps prevent further entries or changes within the locked scope. This reduces the risk of accidental or unauthorised changes after the accounts have been checked, subject to the configured controls and exceptions. Does every AutoCount version record SQL execution, code changes and approval events? Do not assume that every version or configuration records all these event types. Check the available event categories in your installation and consult AutoCount support or your implementation partner if you need to confirm specific security logging capabilities. Conclusion When an accounting document changes unexpectedly, start with the available created and modified information to … Read more