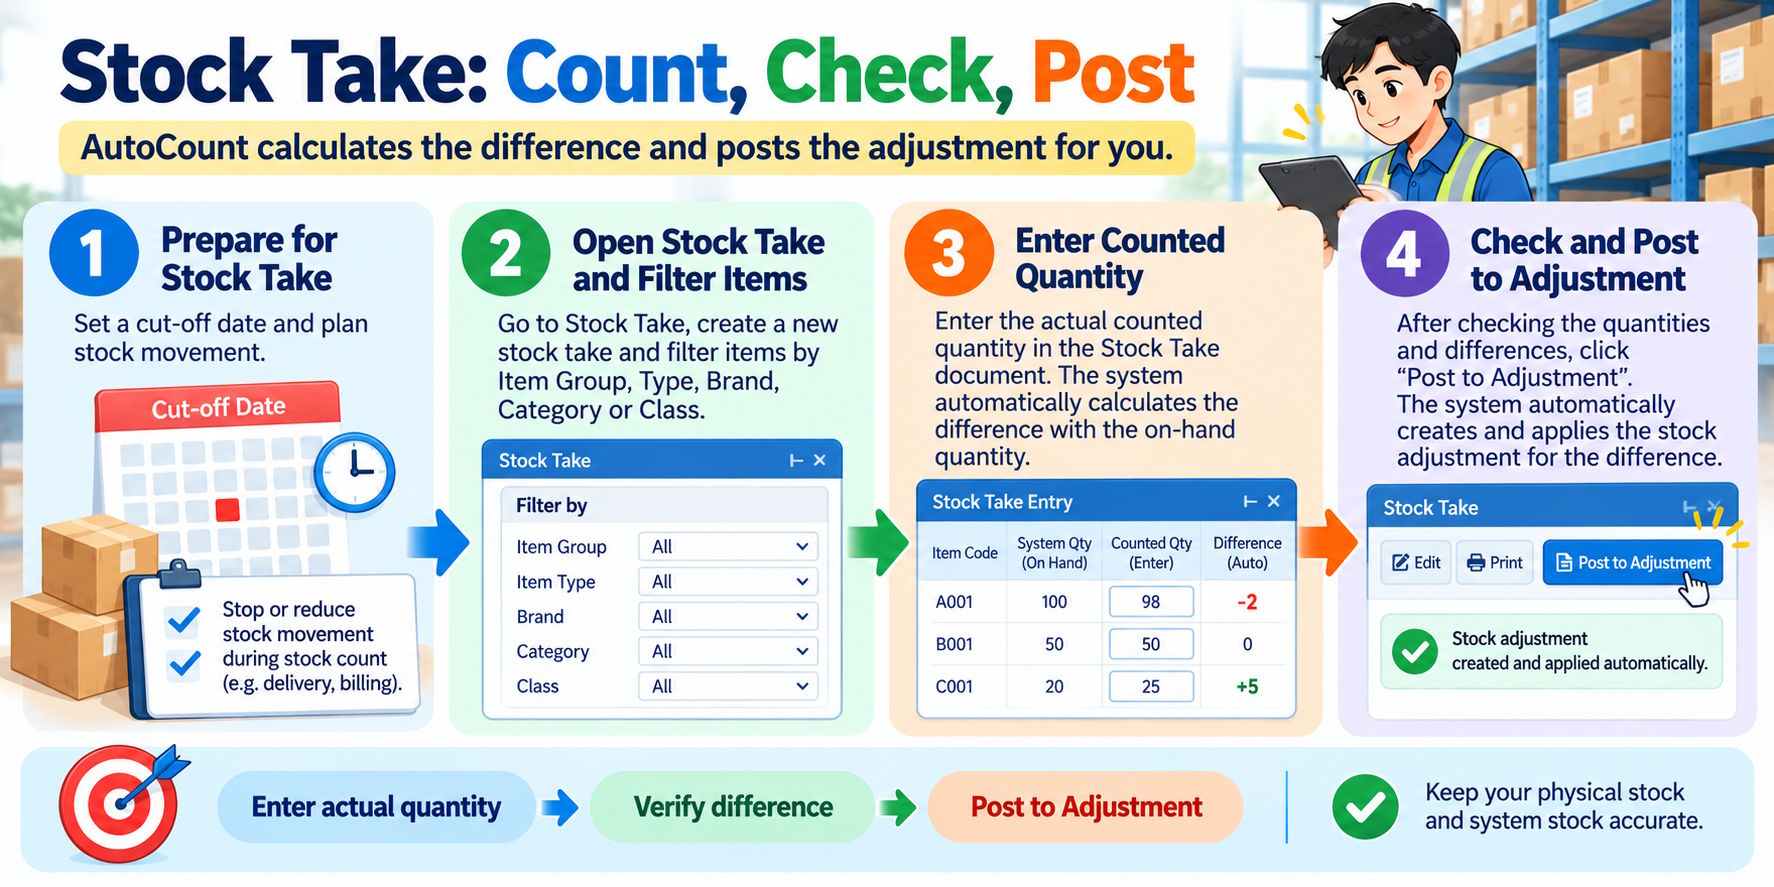
Does your physical stock match the quantity shown in AutoCount?
Stock differences can happen because of wrong entries, damaged goods, missing items, or stock movements that were not recorded correctly.
For purchasing staff, accurate stock records are important. They help the company plan purchases, avoid shortages, and reduce excess stock.
AutoCount Accounting Desktop has a Stock Take function that helps users compare physical stock with system records and prepare stock adjustments.
1. Plan a Stock Take Date
Before starting, choose a cut-off date for the stock count.
Sales, purchases, billing, and deliveries can change stock quantities while staff are counting. If possible, temporarily stop stock movements during the count.
If the business must continue operating, record all stock movements carefully so the quantities can be checked against the correct date.
2. Filter Items to Make Counting Easier
Instead of counting every item at once, divide the stock into smaller groups.
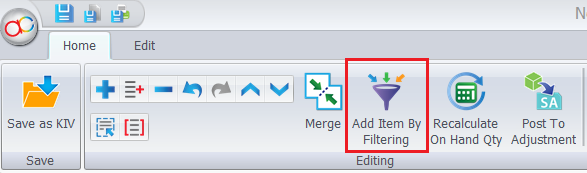
Depending on your AutoCount version and setup, you may be able to filter items by:
- Item Group
- Item Type
- Brand
- Category
- Class
For example, purchasing staff can count one brand or item group first, then continue with another group.
This makes it easier to assign counting tasks and reduces the chance of missing items.
3. Enter the Actual Stock Quantity
Open Stock → Stock Take and create a new stock take document.
Enter the physical quantity counted for each item. AutoCount compares the counted quantity with the system’s on-hand quantity and calculates the difference.
For example:
| Item | On hand quantity | Physical quantity | Difference |
|---|---|---|---|
| Item A | 100 | 98 | -2 |
| Item B | 50 | 50 | 0 |
| Item C | 20 | 25 | +5 |
In this example, Item A has two units less than the system record, while Item C has five extra units.
Before posting, check the differences. Recount items with unusual results and investigate possible errors.
4. Post to Adjustment
Once the quantities have been checked, use Post to Adjustment in the Stock Take document.
AutoCount can create a Stock Adjustment document using the differences calculated during the stock take. Review the generated document and complete the required save or posting step.
This is easier than manually calculating each difference and entering it again in a separate Stock Adjustment.
For example, if the system shows 100 units but the physical count is 98, the adjustment should reduce the stock by two units.
Always confirm the document date and quantities before posting.
5. Keep Stock Records Accurate
A stock take is not only about correcting quantities. It can also help the company identify problems in its daily process.
After the stock take, review the Stock Balance Report or Stock Card Report to check the updated quantities and stock movements. AutoCount provides these reports for inventory checking and review.
Purchasing staff can then use the updated stock balances to plan future orders. The Reorder Advice Report can also help identify items that may need replenishment.
Conclusion
The Stock Take function helps businesses compare physical stock with AutoCount records and prepare adjustments based on the differences.
The basic process is simple:
- Plan the cut-off date.
- Filter and count the items.
- Enter the actual quantities and check the differences.
- Use Post to Adjustment and review the generated document.
Regular stock takes, clear procedures, and accurate stock movements can help keep inventory records reliable.